Logos & Footers
Logos and footers define the brand images used across workflows, templates, and documents that support header and footer branding. You can create as many logo/footer entries as needed — typically one per company — and assign the correct one per company so documents automatically use the right branding.
List Logos & Footers
Open Configuration → Logos & Footers to view all defined entries.
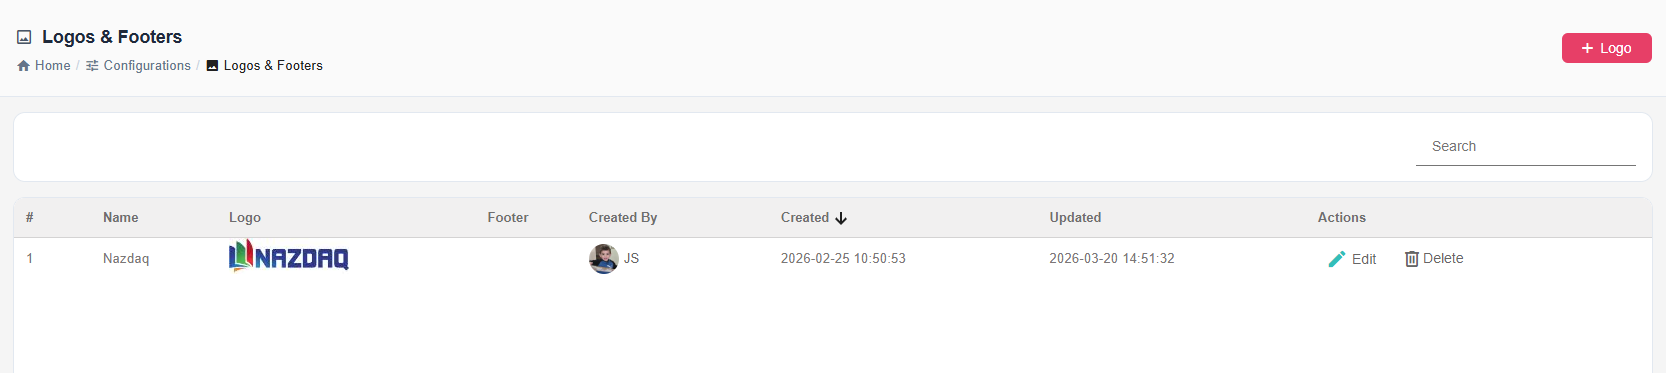
The list shows each entry's name, a preview of the logo and footer images, the creator, and the last update date.
Create or Edit an Entry
Click + Logo to create a new entry, or Edit on an existing row to update it.
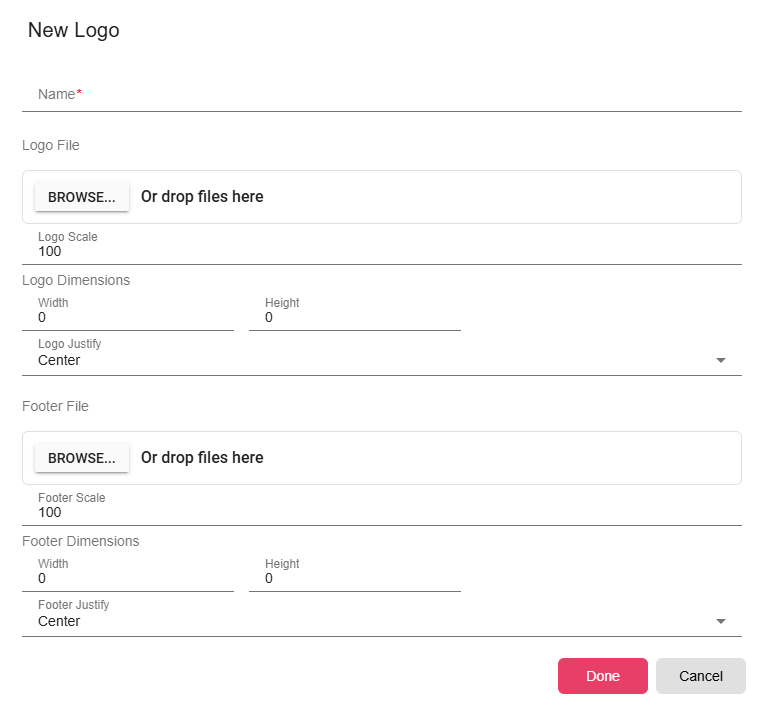
| Field | Description |
|---|---|
| Name | A descriptive name for the entry, typically the company or brand name. |
| Logo File | Upload the logo image file (PNG, JPG, or SVG recommended). This image appears in the header area of generated documents. |
| Footer File | Upload a separate footer image if needed. The footer appears at the bottom of pages. Leave empty if the template does not use a footer image. |
| Scale | Scale percentage for the logo/footer image. |
| Dimensions | Explicit width and height override for the logo area. |
| Justification | Horizontal alignment: Left, Center, or Right. |
Assigning a Logo to a Company
To have B2Output automatically select the correct logo for each company during document generation:
- Open the company record in Contact Management → Companies.
- In the Connected Logo field, select this logo/footer entry.
When B2Output generates a document for that company, it uses the assigned logo and footer without manual selection.
Notes
- Logo images should have a transparent background (PNG or SVG) for the cleanest result on white backgrounds.
- Keep logo file sizes small (under 500 KB) for fast PDF generation.
- If a company does not have a Connected Logo assigned, the default logo configured in the template or workflow is used as a fallback.